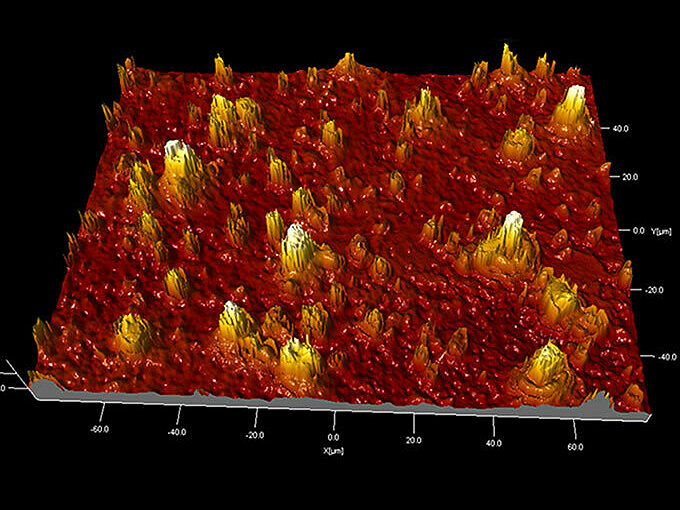
White Light Interferometry (WLI)
White Light Interferometry (WLI) provides quantitative surface topography information from all solid materials. We can measure wear patterns, volume changes, and other topographical properties of the articulating surface.
The resolution of the measurements are ~0.5µm in the lateral (X, Y) plane and ~1nm in the height (Z) plane. This allows microfeatures and large-scale topographic variations to be monitored in detail.
Surface metrology data is presented in the form of pseudo-colour height maps, 3D images, line profiles, and surface roughness parameters (e.g. Ra, Rz).

WLI - at a glance
- quantitative surface topography and roughness parameters
- height maps, 3D images and movies to illustrate the surface topography
- profilometry - measurement of feature heights / depths on the nm-mm scale using line profiles
- measurement of transparent film thickness in the 0.2µm - 50µm range
Typical applications
- characterisation of surface defects, stains and residues on metals, glasses, and polymers
- measurement of coating film thickness and uniformity on arterial stents
- monitoring the effect of acid erosion on human tooth enamel
- measurement of wear scars in tribological studies
We can serve a wide variety of industries using WLI
- healthcare
- medical devices
- printing
- packaging
- semiconductors
- electronics
- aerospace
- automotive
